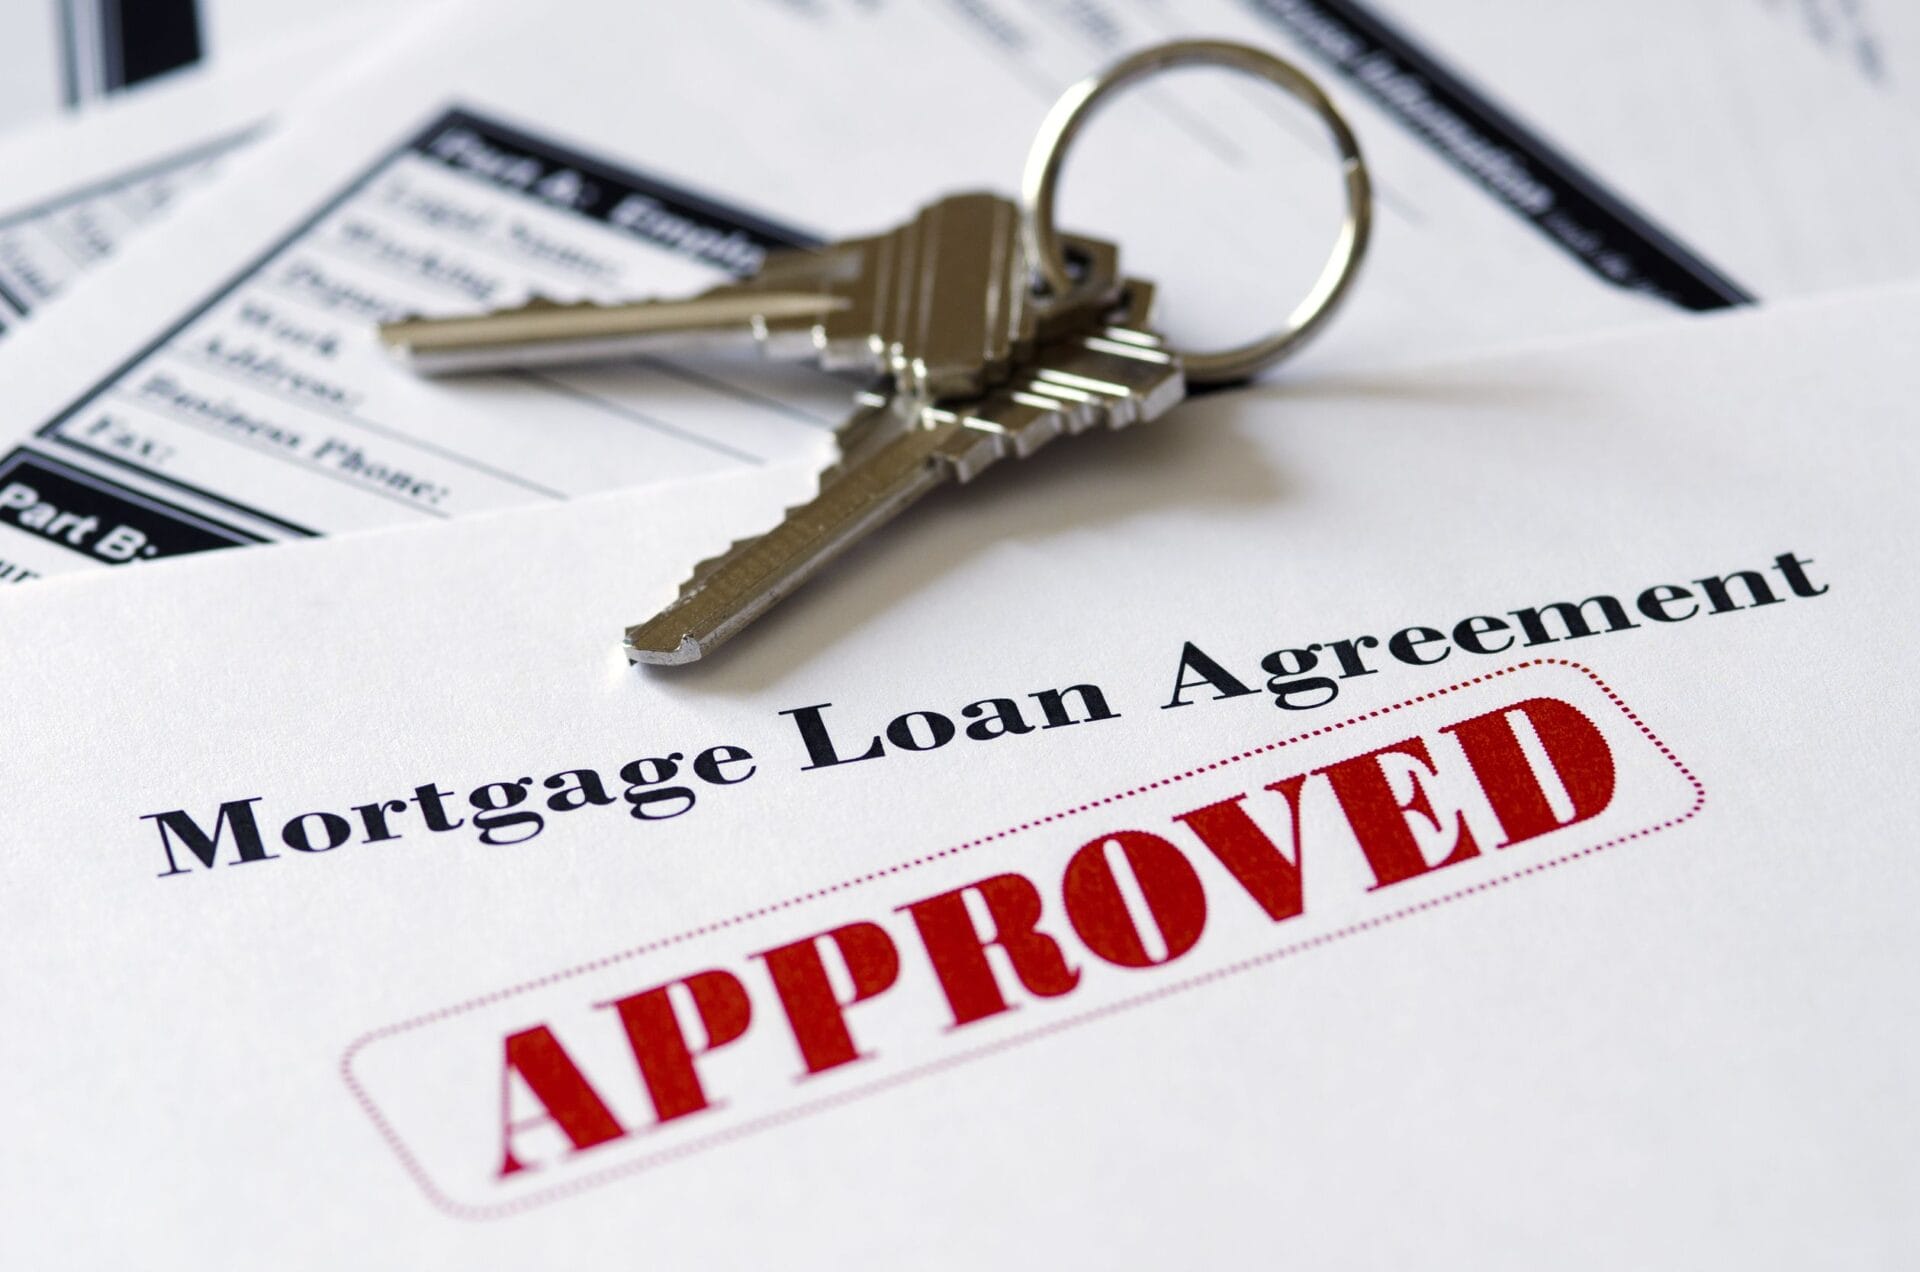
If you find yourself sitting in a strange hallway, waiting for a stranger in a suit to size you up and decide if you’re worthy as your palms sweat and your breath gets just a little bit harder to push out, you might be waiting for your appointment for your mortgage pre-approval. You’re one step closer to owning your own home, but this one is a doozy.
Let’s talk mortgage pre-approval step-by-step.
Step One: Mortgage Pre-Qualification Versus Pre-Approval
You probably already have a pre-qualification letter saying that you can probably buy a house in a particular price range, so why isn’t this enough? A lot of homebuyers find this part of the process confusing, and frankly, it can be. Your pre-qualification was probably done over the phone or on your first meeting with your lender. They asked you a bunch of questions about your income, your job and maybe even pulled a “soft” credit report to get some idea about your debts.
Based on this information, they gave you the details on the kinds of programs you’re eligible for and how much you can expect in buying power. You probably got a letter that you could show your Realtor to help guide the buying process. The difference between the pre-qualification and the pre-approval is simple: a pre-qualification is based largely on your word. If you give the lender incorrect information, they’ll give you a pre-qualification letter that’s not right.
A pre-approval, on the other hand, takes a harder look at your background, work history and requires a full credit report and FICO score to ensure that you can, in fact, pay back a note.
Step Two: Documentation
Your next meetup with the nice banker is going to be to deliver documents, provide consent to pull a full credit report and, if you’ve already found one, give them the information on the home you’ve put under contract (in some areas your Realtor can do this last bit for you).
Documentation you’ll be asked to bring will include pay stubs, bank statements and tax returns, along with other information that may be needed to verify your income source or sources. Self-employed people, for example, are sometimes required to prepare profit and loss statements (or just pony up more tax returns). If you have assets like a 401(k) or even a CD, you’ll want to bring the details on these, too.
Step Three: The Loan Estimate Form
You’re going to get a copy of something called the Loan Estimate Form, probably at the same meeting where your lender pulls that full credit report and takes all your papers away. This form explains exactly how much they expect you’ll need to bring to closing, along with itemized estimated fees to plan for at closing. If you’re shopping your loan, collect these and compare them side by side before you make your final choice.
But don’t spend too much time crunching the numbers. Just like your contract (and the National Association of Realtors) says, “Time is of the Essence.”
Step Four: Acceptance
Once you’ve had a few minutes to review the paperwork and you’ve made your final pass through the numbers, all that’s left is to call the lender you’ve chosen and let them know you need that pre-approval letter faxed over to your Realtor.
Understand that a pre-approval is not a guarantee that you’re going to get the money you need to close. Several things can go wrong along the way through underwriting, including, but not limited to:
– Unverifiable income (this is often due to issues with overtime)
– A change to your credit score.
– An increase in your debt to income ratio
– An undocumented change in employment
– Assets that are unverifiable
The best plan is be totally honest with your lender when you get your pre-approval so that you don’t get a last minute call telling you that your loan has been denied (this actually happens, so pay everything on time and don’t take out new credit lines or add to old ones until you’ve got the keys in your hand).
When is the Best Time to Make an Offer?
Ideally, you should have a pre-approval letter in hand before you so much as set foot into the first house you’re considering for purchase. After all, the seller isn’t going to think you’re all that serious without one, nor will they be keen to want to negotiate under these circumstances.
Help your banker help you get the best deal on the house of your dreams, save everybody a lot of headaches and get that pre-approval first. Knowing how much your closing costs are going to be will also help your Realtor write your contract accordingly if they should need to be wrapped into your mortgage.
Basically, that document is the key to everything. So, no pressure.
When You Need a Loan for Your Home…
Finding a banker you can trust these days couldn’t be easier! Check out the lenders that your Realtor has already recommended within your very own HomeKeepr community. These are banking pros that your agent has worked with enough that they know they can do the job and will make sure you don’t get a big surprise a few days before closing.